Updated for Blender Version: 3.1
To the Point
- Press Shift+A > Lattice
- Modify U, V, and W segments (similar to subdivision) in the Lattice tab

- Click the Object to Deform
- Click Modifiers Tab

- From the Add Modifier dropdown, select Lattice
- Click the Object field and select the lattice from the dropdown, or use the eyedropper to select the lattice in the 3D viewport.
- Click the lattice, enter edit mode and move the vertices around to see the underlying mesh change.
The Details
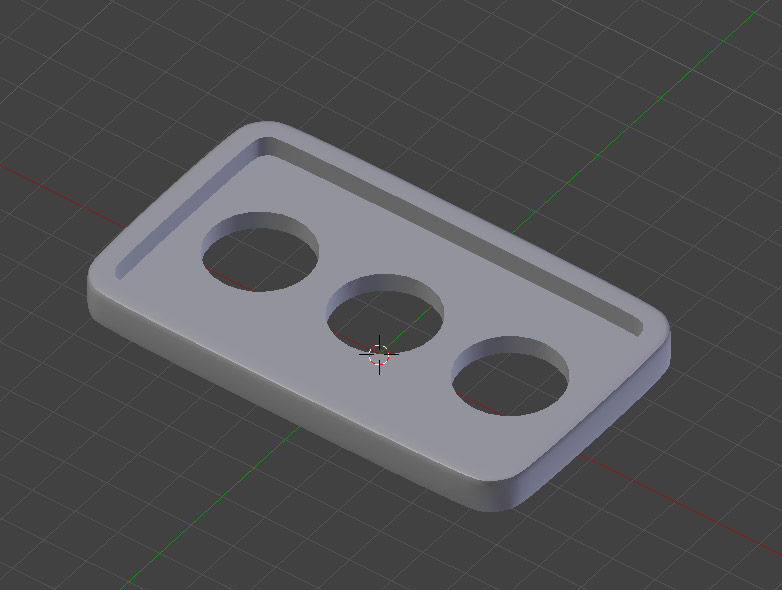
Sometimes through the course of 3D modeling, an object can get quite complex. These complex shapes can be difficult to work with if they need to be warped or shaped to fit a certain space. Objects can be bent, warped and shaped using the Lattice Modifier without altering the underlying object’s topology. Take this object for instance:
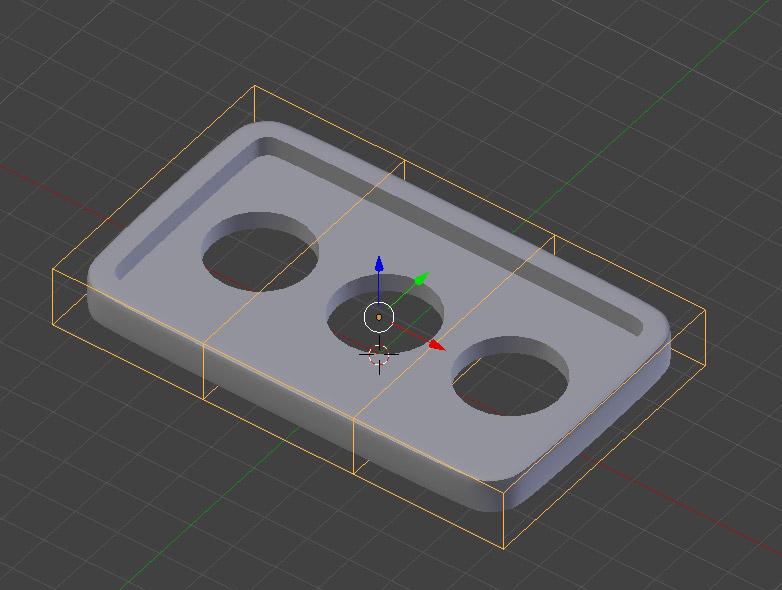
It would be difficult to add a curve to this piece by changing the mesh itself; pulling the countless vertices into place would be time-consuming and the end result would not look clean. To simplify the process, a Lattice can be used to warp the object. Use Shift+A to bring up the Object Primitives menu and select Lattice. Take the lattice and scale it and position it so it is roughly the same size as the object. Click the Lattice tab in the Properties panel. ![]() Use the U, V, and W settings to modify the number of segments on each axis of the lattice. For this example, the U axis has a setting of 4 segments:
Use the U, V, and W settings to modify the number of segments on each axis of the lattice. For this example, the U axis has a setting of 4 segments:
Now it’s time to add the Lattice Modifier. Click the main object to be deformed, and in the Modifiers tab ![]() , click the dropdown and select Lattice. In the Lattice box, click the orange cube icon under “Object:” to select which object will act as the lattice itself. After selecting the lattice you created, the modifier is ready to go. Click the Lattice and enter Edit mode. A Lattice is manipulated using only vertices, so select a few vertices and move them to see the effect on the underlying mesh.
, click the dropdown and select Lattice. In the Lattice box, click the orange cube icon under “Object:” to select which object will act as the lattice itself. After selecting the lattice you created, the modifier is ready to go. Click the Lattice and enter Edit mode. A Lattice is manipulated using only vertices, so select a few vertices and move them to see the effect on the underlying mesh.
Alternatively, you can avoid using the modifier by simply selecting the object, then Shift-Left-Click on the lattice and pressing the Parent hotkey Ctrl+P. Select “Lattice Deform” and the lattice should be good to go.