Updated for Blender Version: 3.1
To the Point
- Select the object and enter Edit Mode
- Press T to bring up the Tool Shelf in the 3D viewport
- Find the Knife button
 or alternately just press K to activate the knife tool
 - Left-click on an edge of the object to start the cut, then continue clicking to other edges to get the desired shape
- When the last vertex has been placed, press Enter to apply the edge
The Details
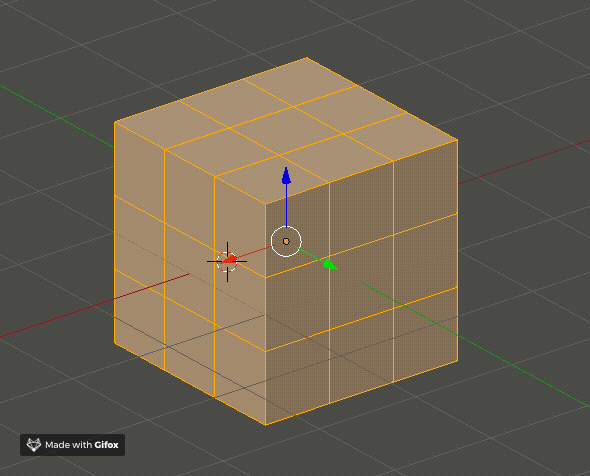
The Knife tool is useful for rerouting geometry to clean up the overall mesh topology. When active, a series of vertices can be “drawn” along multiple faces around your object at will. Start by selecting an object and entering Edit Mode. Either press K to activate the Knife tool, or press T to open the Tool Shelf in the 3D Viewport, then find the knife button ![]() . With the knife button active, click an edge where you’d like to begin the cut, then continue clicking along the face or faces to place vertices in the desired shape. Press Enter to activate the new edge. The vertices placed now become active and editable on your mesh. This gives you much more flexibility than simply using the loop cut tool. Any shape can be added to a mesh by hand using the knife tool.
. With the knife button active, click an edge where you’d like to begin the cut, then continue clicking along the face or faces to place vertices in the desired shape. Press Enter to activate the new edge. The vertices placed now become active and editable on your mesh. This gives you much more flexibility than simply using the loop cut tool. Any shape can be added to a mesh by hand using the knife tool.
Extra Hotkeys
When the knife tool is active, pressing C will constrain the knife cut either perfectly horizontal or vertical or 45-degree angles to the sides. Note that this is based on the viewport position, so be sure to maneuver your view into the correct position first before applying the constrained knife cut.
Also, when adding a knife cut along a series of faces, press and hold Ctrl when the Knife tool is active to constrain the vertices to the center points of all edges that the Knife tool crosses (see below).