Any new tool can be daunting the first time you use it. HardOps is an extremely powerful add-on for Blender that makes hard surface modeling incredibly easy – after you get past the learning curve, that is. Here are 5 quick tips for getting started quickly with HardOps.
Getting to the HardOps Menu

Hot keys are a vital way to speed up your workflow in Blender. To get to the HardOps menu, simple press “Q” to access all of the most commonly used tools like Sharpen, Bevel, and Smart Apply. Along with the Tools menu, you can access the HardOps settings menu with ctrl + ~
Sharpen the Object

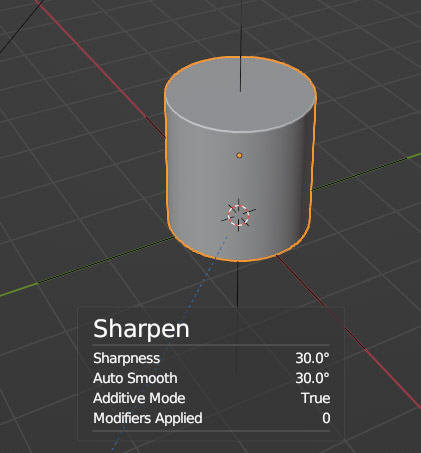
Sharpening is one of the quickest and most useful tools in HardOps. Sharpen combines Auto-Smooth with an automatic “mark sharp” functionality, all in one click. This will smooth out the faces of your object while simultaneously marking some of the edges of the model as sharp, giving them a noticeable edge.
Bevel Edges

Bevel is one of the most commonly used tools in HardOps – and hardsurface modeling in general. A bevel will split an edge into two (or more) edges giving the profile of the object a smoother, more rounded look. This is a quick way to add a more “machined” look to the object.
Everscroll – Edit Booleans with Ease

Everscroll is an extremely useful part of HardOps, once you get the hang of it. Everscroll simply allows you to use your mouse wheel to scroll through all the modifiers in the stack. This is great for when you have a long list of active booleans on an object. Quickly scroll through the boolean objects to find just the right one to adjust.
HardOps Mirroring

Pressing alt+x will bring up the HardOps mirroring gizmo for quickly mirroring or symmetrizing. HardOps is great at applying useful modifiers to your object in the proper order. When applying a HardOps mirror with the alt+X gizmo, HardOps automatically drops the mirror Modifier to the bottom of the stack, which will mirror all other bevels and boolean in the stack.
